October 21, 2026
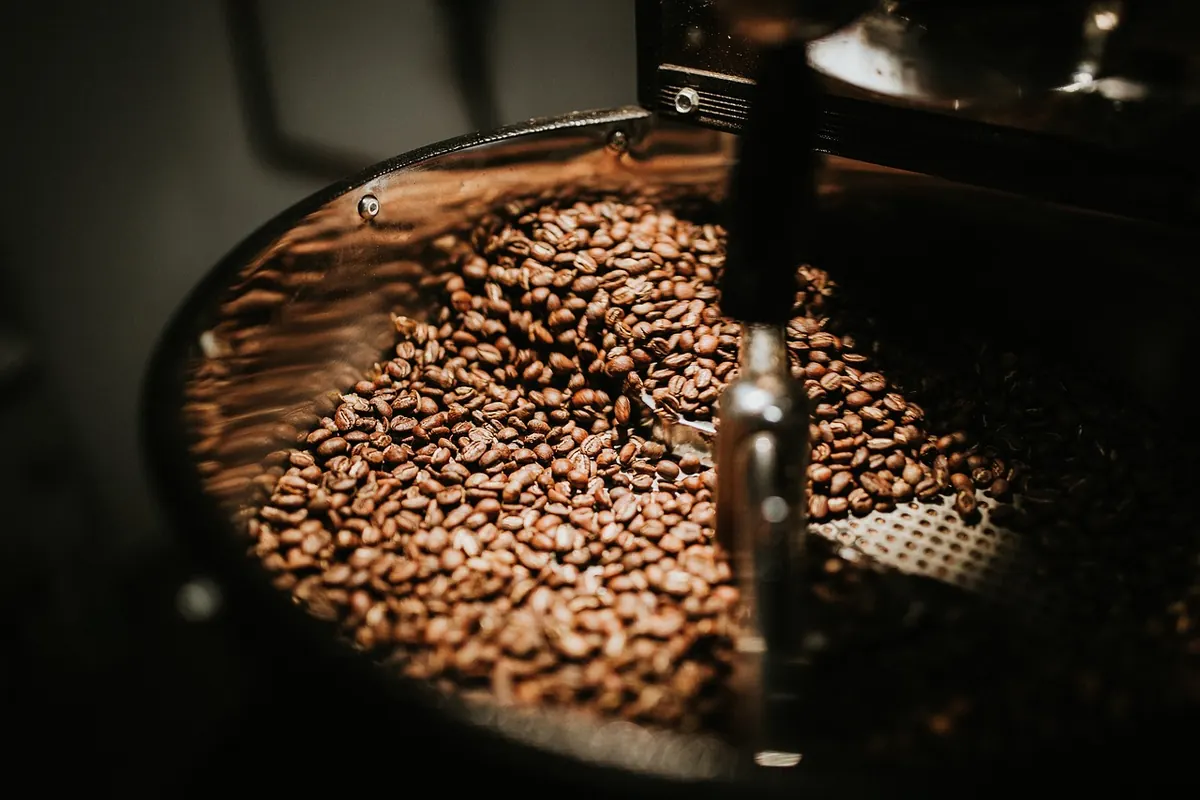
Your first home roast will probably taste a little flat. Your second might taste scorched. Somewhere around the fifth batch, you will pour a cup that makes you check the bag to see who roasted it — and the answer will be you. That learning curve is short, cheap and genuinely enjoyable, especially if you already like the ritual of doing things by hand. Roasting chestnuts over a flame teaches you the same lesson coffee does: heat, listen, and pay attention. Here is what you need to know to start.
What You Actually Need Before You Buy Anything
You do not need a machine to begin. Three routes are common: a hot-air popcorn popper, a stovetop hand-cranked roaster (the Whirley-Pop style), and an entry-level electric drum roaster. Each has a personality. The air popper is loud, fast and cheap, and its small batch size — often around 60 to 80 grams of green coffee — is a virtue when you are learning. The stovetop roaster gives you more control and a bigger batch, but demands your full attention for ten minutes. Electric drum roasters cost real money but hold temperature steadily and let you roast indoors with less smoke.
Whichever you choose, the supporting kit matters as much as the roaster:
- Green coffee beans — more on choosing these below, but buy small quantities at first.
- A metal colander and a fan for cooling, or a dedicated cooling tray.
- A timer, even if you roast by sound and smell.
- A notebook or a note on your phone for each batch.
- Good ventilation — a window, a doorway, or an outdoor table. Roasting produces smoke, and a stovetop batch will set off a sensitive smoke alarm.
- Oven gloves and a heatproof surface. Metal parts stay hot far longer than you expect.
Budget for some failures. Green beans are the cheapest part of the coffee chain, which is precisely why roasting at home can make sense.
Choosing Green Beans You'll Actually Enjoy
Start with one bean, not five. Buy 500 grams of a washed coffee from a reliable supplier — a washed Brazilian or a washed Central American is forgiving, sweet and hard to ruin. Natural-processed beans and very light, floral Ethiopians are exciting but less tolerant of an uneven roast, so save them for later.
Ask the supplier how they would roast it. Good green coffee sellers will tell you a rough target: "take this one to the end of first crack and stop" is the kind of advice worth following. Check the crop year on the bag where it is listed; green coffee keeps well for months in a cool, dry, dark place, but it does fade. Store your supply in a paper bag or a breathable container rather than a sealed plastic tub, and keep it away from the spice shelf.
The Four Stages Every Roast Goes Through
Roasting looks like magic and behaves like chemistry. The bean loses moisture, browns through the Maillard reaction, then develops aroma compounds as sugars caramelise. You do not need the chemistry to roast well, but you do need to recognise four moments.
1. Drying
The bean smells grassy, then like hay or bread. It turns from green-grey to pale yellow. This phase takes a few minutes and you mostly leave it alone, though keep the beans moving so they heat evenly.
2. First crack
A sound like popcorn, or like twigs snapping, only denser. This is steam and pressure splitting the bean open, and it is the single most useful landmark in home roasting. Note the time it starts. Everything you do afterwards is measured from here.
3. Development
The gap between first crack and the end of the roast. A short development — thirty seconds to a minute past the end of first crack — gives a bright, acidic, light roast. A longer one, two to three minutes, builds body and sweetness. Keep the beans moving and watch the colour: tan, then milk chocolate, then darker.
4. Second crack
A quieter, faster crackle, like rice cereal in milk. Beans at this point are dark and oily. Most beginners should stop well before it — dark roasts hide origin character and are easy to push into ashy, burnt territory. If you hear second crack starting, you are already at the far end of the dial.
Reading the Roast With Your Senses
Time tells you what happened; your senses tell you what is happening. Use all of them. Colour is easiest: pull a bean out with a spoon and look at it against a white plate, not against the roaster's dark interior. Smell shifts from grassy to bready to a sweet, nutty aroma, then to sharp smoke. Sound gives you the two cracks. And smoke is a warning — a thin wisp is normal, a thick plume means you are close to over-roasting.
Ignore any recipe that says "roast for exactly eleven minutes". Ambient temperature, batch size, bean density and your particular machine all shift the timing. Record the timings you observe and adjust from there.
Cooling: The Step Beginners Skip
Beans keep cooking after you cut the heat. If you leave them in the roaster or in a hot pan, they will coast past your intended roast level within a minute or two. Tip them straight into a colander, set it in front of a fan, and stir constantly with a wooden spoon for three to five minutes until the beans feel barely warm to the touch. Faster cooling keeps the flavours clean.
Then rest them. This is the hardest part. Freshly roasted coffee tastes sharp and gassy because carbon dioxide is still escaping. Leave the beans in an open container for a few hours, then store them in a jar or a bag with a one-way valve. Most coffees are at their best between two and seven days after roasting, and they stay decent for a couple of weeks.
Your First Roast, Step by Step
- Weigh 70 to 100 grams of green beans — a small batch is easier to control.
- Preheat your equipment and set up your colander and fan nearby, before you start.
- Start the timer the moment the beans hit the heat.
- Keep them moving constantly; uneven heat means uneven colour.
- Note when the smell turns bready and the colour goes yellow.
- Note when first crack begins. Turn the heat down slightly.
- Roast for one to two minutes beyond the end of first crack, then stop.
- Cool fast, label the batch with the date and the time past first crack, and let it rest.
Keep a Log, Keep Going
Write down four things for every batch: the bean, the weight, the time first crack started, and the total roast time. Add a tasting note three days later. After five or six batches you will spot your own patterns — that your popper runs hot and needs a smaller dose, or that you prefer the sweetness of a slightly longer development. Change one variable at a time, keep the smoke out of the kitchen, and give the beans a few days before you judge them. If you are roasting for anyone with health concerns, or on medical advice about caffeine, speak to a professional rather than relying on general guidance. Otherwise, the method is simple: buy good green coffee, listen for the crack, cool it fast, and let the cup tell you what to fix next time.
Photo: zhxj560 / Pixabay